DIY wiring looms
Imagine the scene: I’m driving a rally car at competitive speeds along the narrow, twisting country lanes of Yorkshire, England. When braking hard for the downhill, hairpin bend ahead, suddenly the electrics fail. Confronted by total darkness without even the glow from the dashboard to guide me, if ever there was a time when I needed a fully functioning wiring loom, this is it. Fortunately, however, something tells me to take my foot off the brake pedal, and full lighting is restored. By then though the decision has been made – I must replace this rather ‘dodgy’ wiring harness for something more purposeful.
Most people who make their own wiring harness have something a little less complicated than a full rally car harness with all the lights and relays, but whatever the application, what useful advice could I offer?
Building your own loom has many advantages of course. Apart from being able to select the terminals that are most convenient for your application, the wiring can be placed wherever’s most convenient for you, along with the connections. Wiring runs can be shorter, making the finished product lighter, and by making the whole thing modular, replacement becomes so much easier if, for instance, part of it is damaged some time later in its life. Making the loom modular also helps if complete assemblies have to be replaced when, say, the engine has to be rebuilt.
Attaching the many sensors to a loom is so much easier with the engine on a purpose-built engine stand, rather than scraping your knuckles in the confined place of the vehicle engine bay, and no matter how much care is taken you can be certain that at least one terminal will be in a position that’s impossible to get at.
If making the loom shorter is a benefit, it may also be possible to make the wiring thinner to save even more weight. Be careful here though, since the reduced voltage drop from the shorter loom will be offset by the higher resistance of the thinner wires, but carefully thought out, significant weight savings (in kilogrammes) can be accumulated.
In doing this, however, much care will be needed to ensure robustness of the loom. For example, tight radii will have to be avoided, and the wires will almost certainly need to be fastened securely around the vehicle frame or engine bay. Although secure such that they can’t move and chafe, they can’t be too rigidly attached so that movement when needed is impossible. Where movement is possible, some prefer to run the wires through individual sleeves, rather like shrinkwrap. This enables the wiring to be located but allows the individual wires to move slightly should they need to.
But the main enemy of all electrical systems are heat and vibration, so routing wires well away from the exhaust system is an obvious decision. Not so obvious, however, is the need to keep wires well away from unsupported componentry cantilevered off other parts where high g loadings can destroy anything attached to it – however firmly – in a matter of minutes.
Above all, keep wires bundled together for strength, and where they are attached to terminals or parts of the engine or chassis, make sure they are protected by heat-shrinkable tubing. That will give added robustness in the areas that need it.
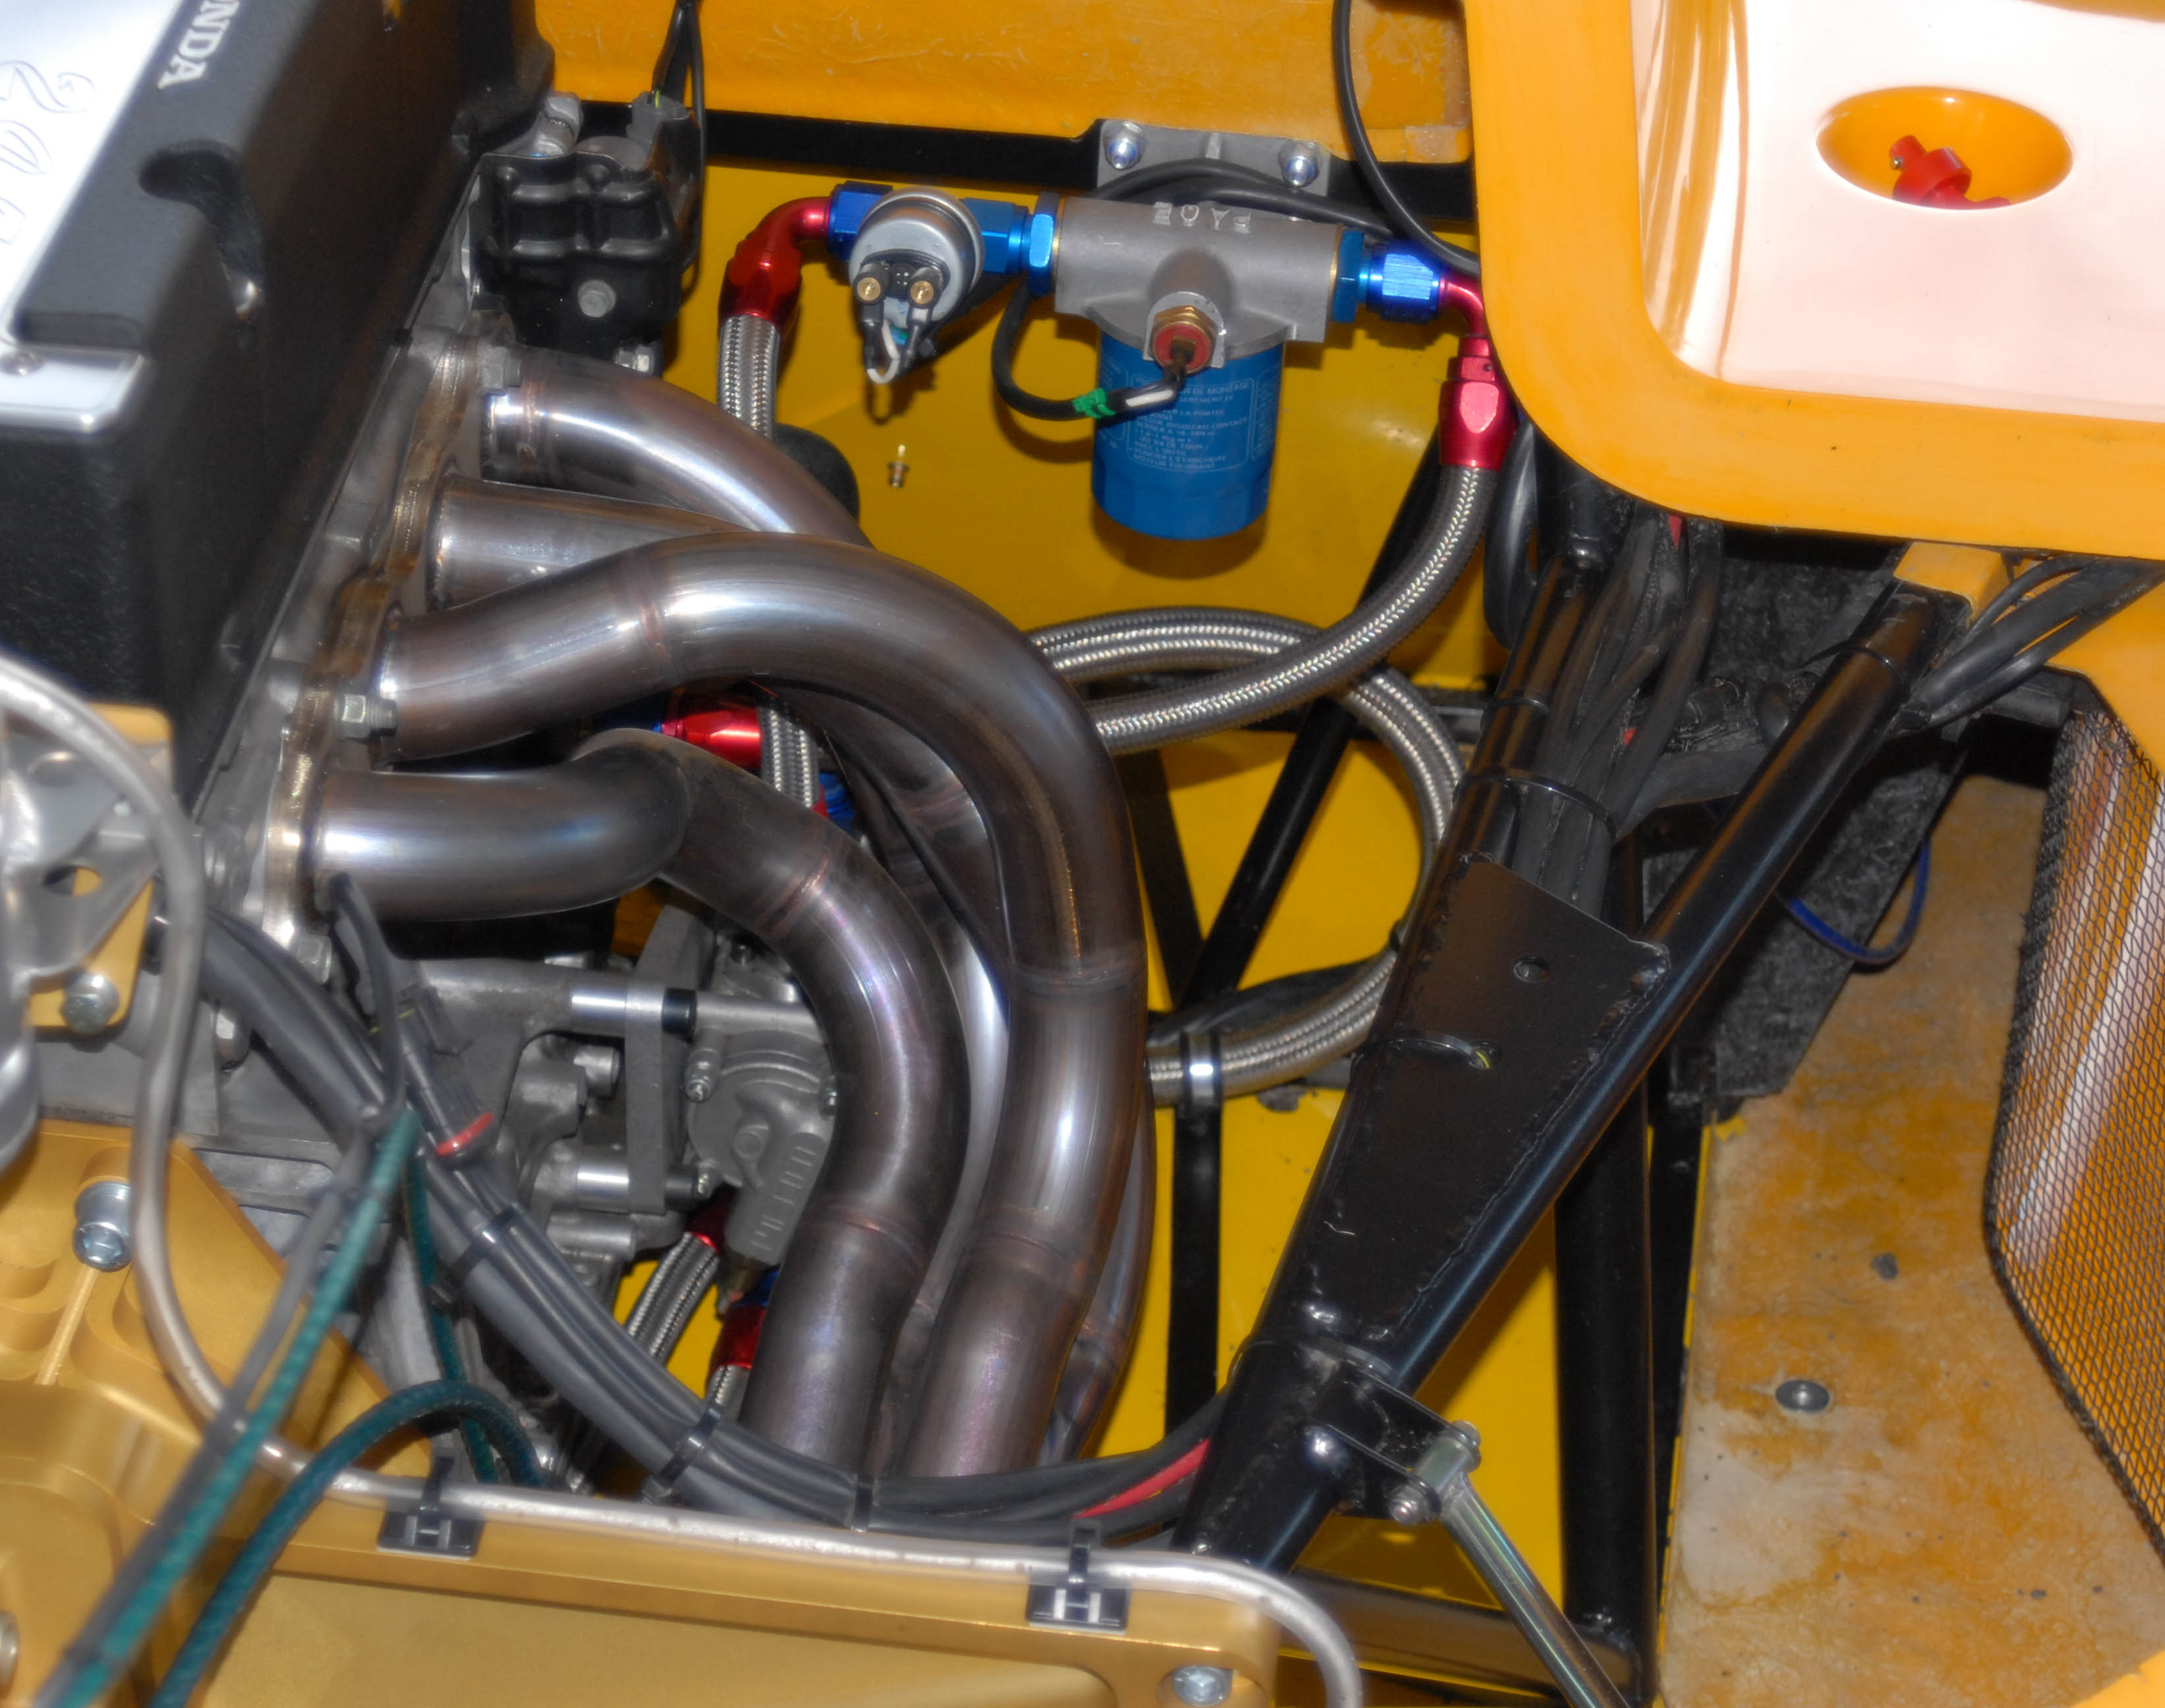 Fig. 1 - Engine bay of a sports racer. Note the obvious lack of wiring which, if you look carefully, can be found towards the middle right in the picture
Written by John Coxon
5998